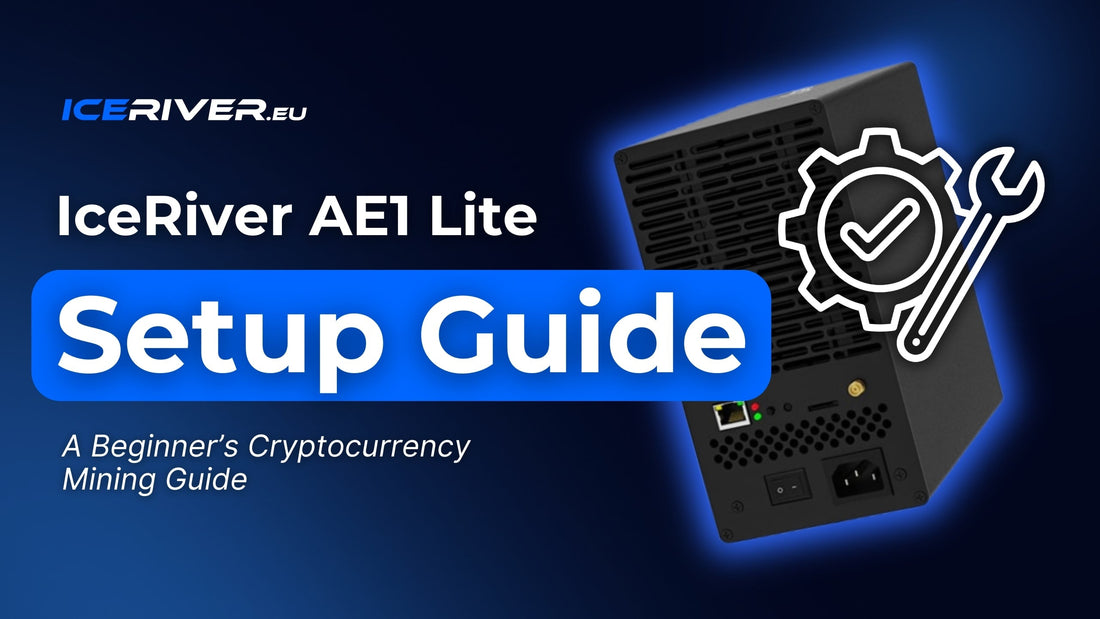
🚀 Iceriver AE1 Lite Setup – Full Guide for Aleo Mining
If you're looking for an efficient and quiet way to start Aleo mining at home, the Iceriver AE1 Lite is one of the best options available. This compact ASIC miner offers 300 MH/s of hashrate at just 500W power consumption. In this guide, we’ll walk you through the complete Iceriver AE1 Lite Setup, from unboxing and networking to firmware tips and mining pool configuration.
📦 Unboxing and What’s in the Box
When your Iceriver AE1 Lite arrives, carefully inspect the packaging for any damage. Inside, you’ll find:
- Iceriver AE1 Lite ASIC miner (integrated PSU)
- AC power cord
- Quick start guide
- Warranty card
- QR code for online documentation
At 2.5 kg, the AE1 Lite is light and easy to handle, perfect for desktop or shelf placement.
🌬️ Placement and Power Requirements
The AE1 Lite runs at a quiet 50 dB, making it ideal for home environments. Just make sure:
- It’s placed on a stable, well-ventilated surface
- Ambient temp is 15–30°C (max 40°C)
- Humidity stays under 65%
The unit runs on 100–240V, standard household power. Daily power usage is approx. 12 kWh.
🔌 Power and Network Setup
- Connect the power cable to the socket.
- Use a Cat5e or Cat6 Ethernet cable to connect it to your router or switch.
- (Optional) Attach a compatible Wi-Fi antenna—this may require firmware update for full support.
We recommend using a surge protector or UPS to prevent damage from power fluctuations.
🌐 Finding Your Miner’s IP Address
🛠 Option 1: Use IceRiver IP Reporter Tool
- Download it from iceriver.eu/firmware-download
- Run the app and press the physical IP button on your miner
- The software will display the assigned IP address

🔍 Option 2: Check via Router
- Log into your router admin panel (usually 192.168.0.1 or 192.168.1.1)
- Go to “Connected Devices” or “DHCP Clients”
- Look for the device labeled “IceRiver-AE1 Lite”
🧠 Logging In and Accessing the Dashboard
Once you have the IP:
- Open it in your browser (e.g., http://192.168.88.101)
-
Login with default credentials:
- Username: admin
- Password: 12345678
You’ll now see your dashboard where you can monitor and configure the miner.

🔧 Iceriver AE1 Lite Mining Configuration
Go to the “Mining Setting” page and input the following:
- Pool 1, 2, 3: Choose reliable Aleo mining pools (Whalepool, F2pool, Dxpool)
- Wallet address: Your Aleo wallet (e.g., Leo wallet)
- Worker name: walletaddress.AE1Lite
- Password: Usually “x” or custom
Click “Save” to apply your settings. The miner will auto-connect to the pool.

📈 Confirm Mining Is Active
- Green LED = Operational
- Dashboard shows hashrate (around 300 MH/s ± 10%)
- Pool status should say "Connected"
Check your mining pool dashboard within 10–15 minutes to confirm the worker is active and rewards are being generated.

🔁 Firmware Update Tips
- Visit iceriver.eu/firmware-download
- Download AE1 Lite firmware only
- File must be “.bgz” format
- Don’t install firmware if your miner is running smoothly
Firmware upgrades may unlock new features like Wi-Fi, better stability, or improved interfaces.
🛡️ Bonus: Safety & Maintenance
- Use surge protection to avoid hardware damage
- Clean dust from fans regularly
- Check hashrate fluctuations—slight changes are normal
With the right care, your AE1 Lite will stay profitable and stable long-term.
✅ Conclusion
The Iceriver AE1 Lite Setup is one of the easiest ways to start mining Aleo efficiently at home. It’s powerful, compact, and quiet, making it perfect for beginners and pros alike. With proper setup and pool configuration, you’ll be on your way to earning privacy-focused crypto in no time.
Need help? Contact the IceRiver EU support team or visit our full documentation page.

